Hello and welcome to another blog post. I am Erwin, Design lead and QA lead of The Overmare Studios.
As part of our more frequent blog posts, I’m going to talk a bit about level design today.
We’re currently working on making Stable 2. This project started out with the great ambition to make the entire Equestrian wasteland. We’ve since toned it down significantly and decided to do only Ponyville as explained in this blog post. This meant cutting all other planned areas of Equestria but also Stable 2, because it wasn’t deemed important enough to spend our resources on. Stable 2 wasn’t important enough because Littlepip only spends a little bit of time in Stable 2 at the start of the story. We didn’t have much more planned than having it be the starting/tutorial area. This is why you’ve never seen more of Stable 2 beyond our initial demo video. To make a full Stable 2 we need assets and that requires a good deal of work.
Since then we have decided to make Stable 2 after all. Our current wave’s focus is on getting quests working. A later wave will have Stable 2 once it’s completed. Our script team has been hard at work and has decided to use Stable 2 for more than just the first part of the game. The fact that we’re now making Stable 2 has also given our Design Team the opportunity to better refine our design process with a more isolated level.
The level design process
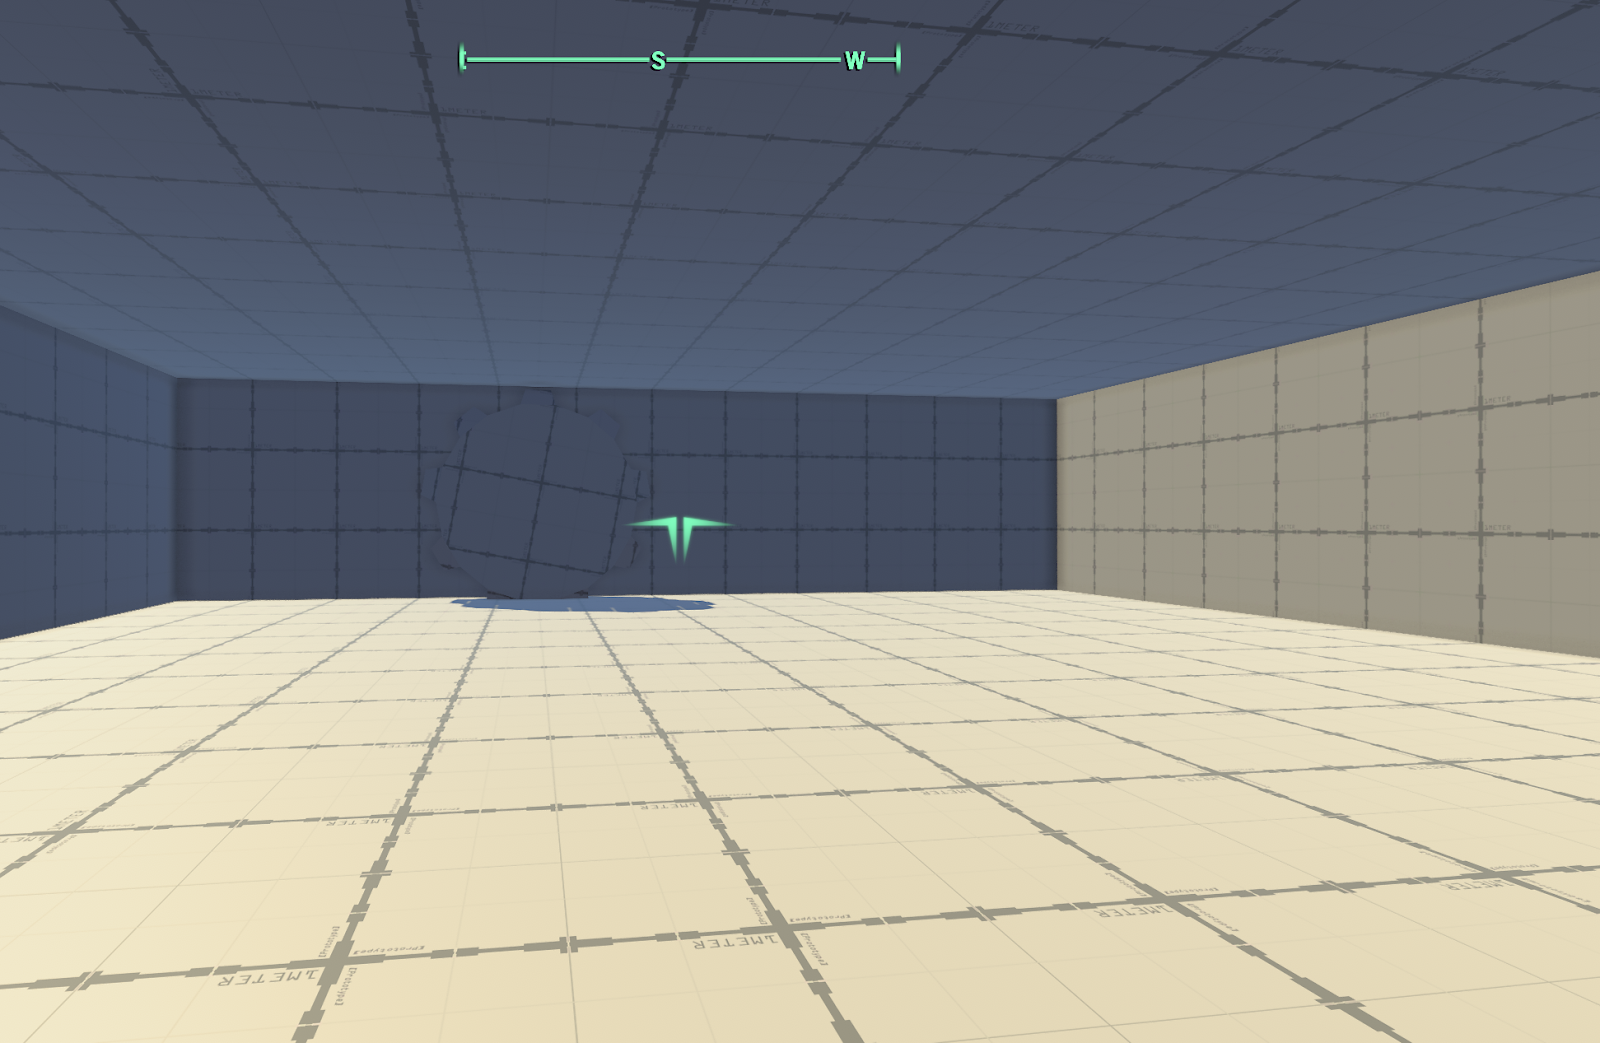
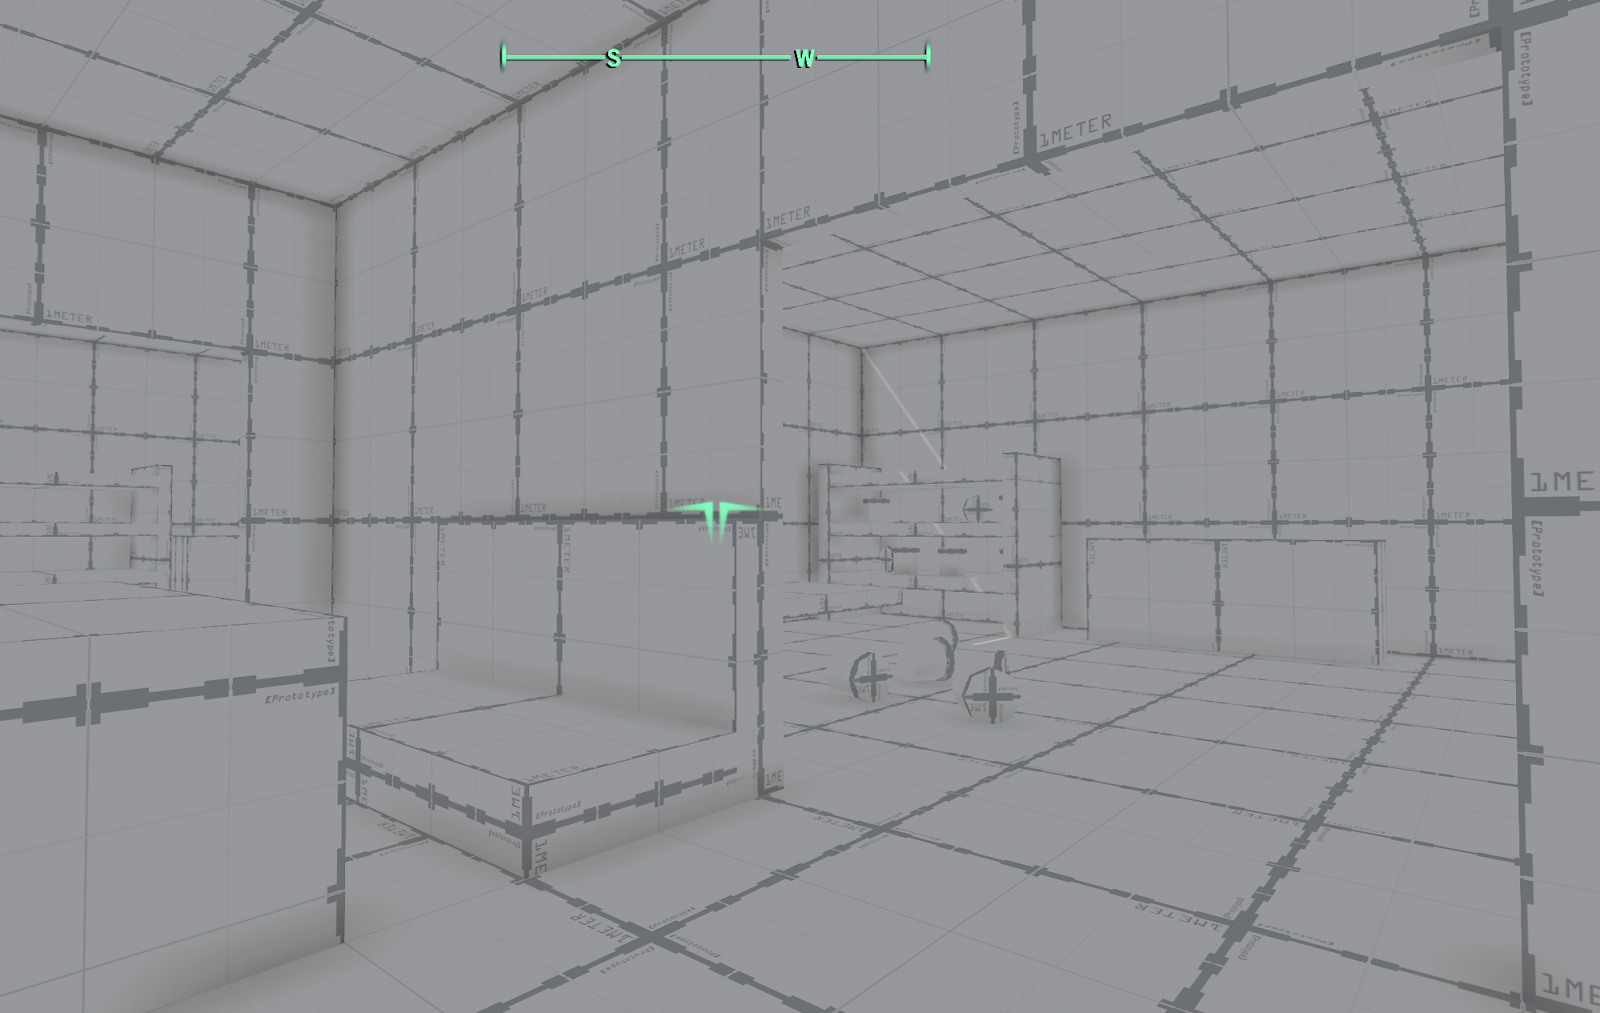
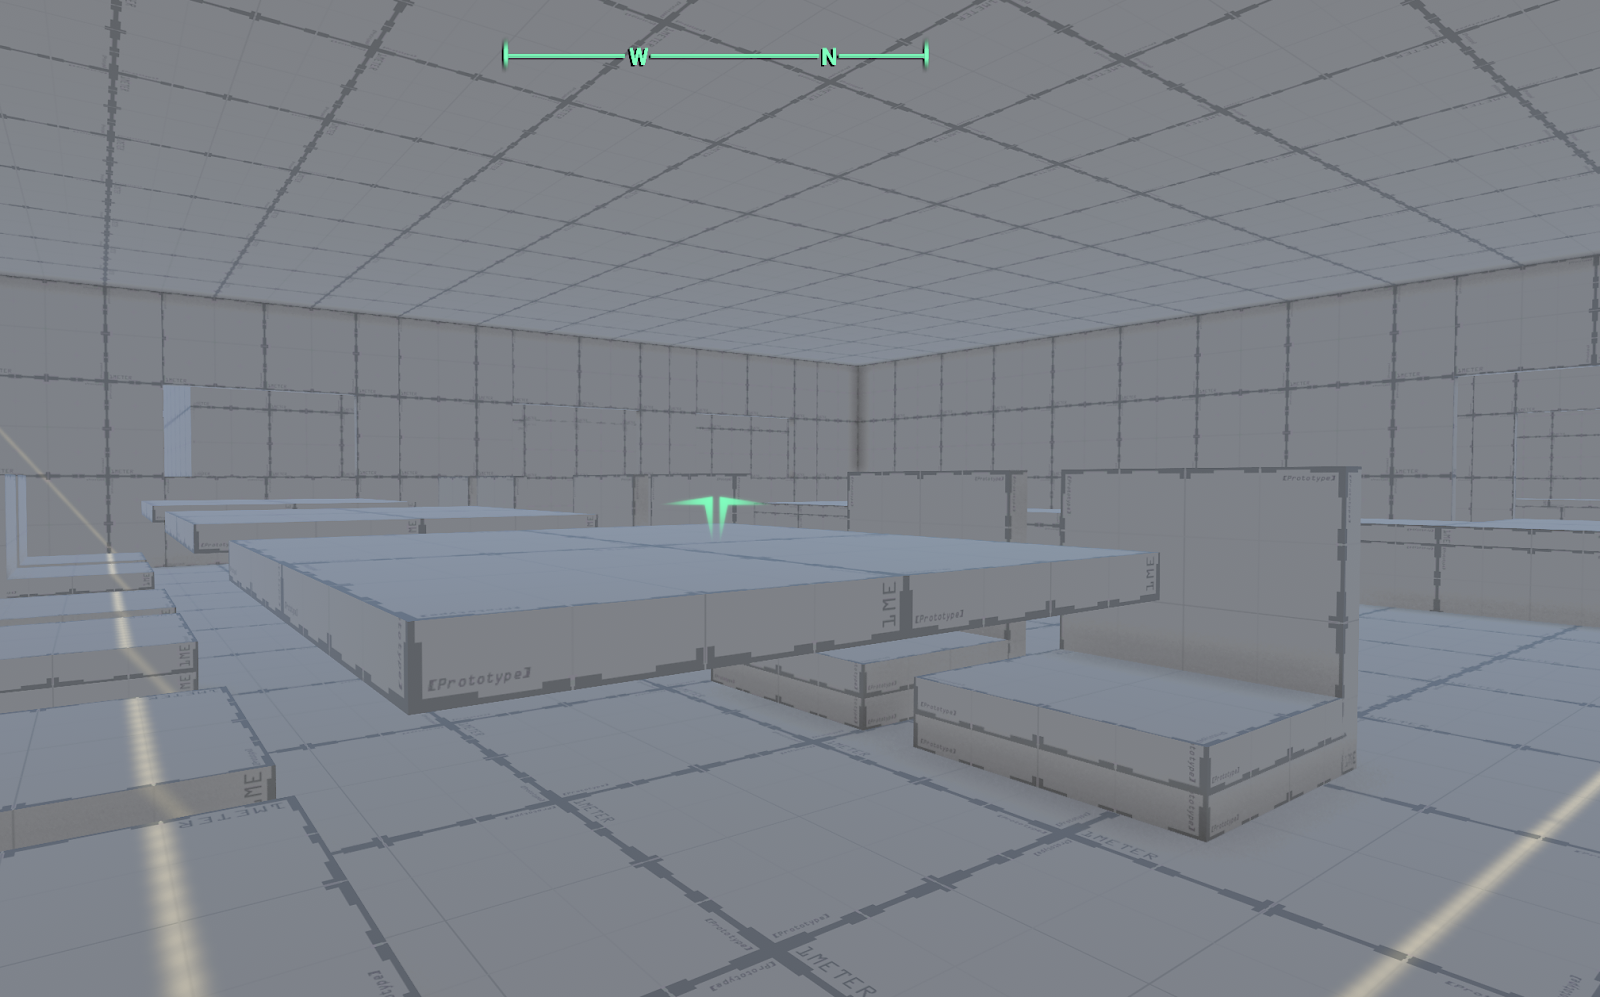
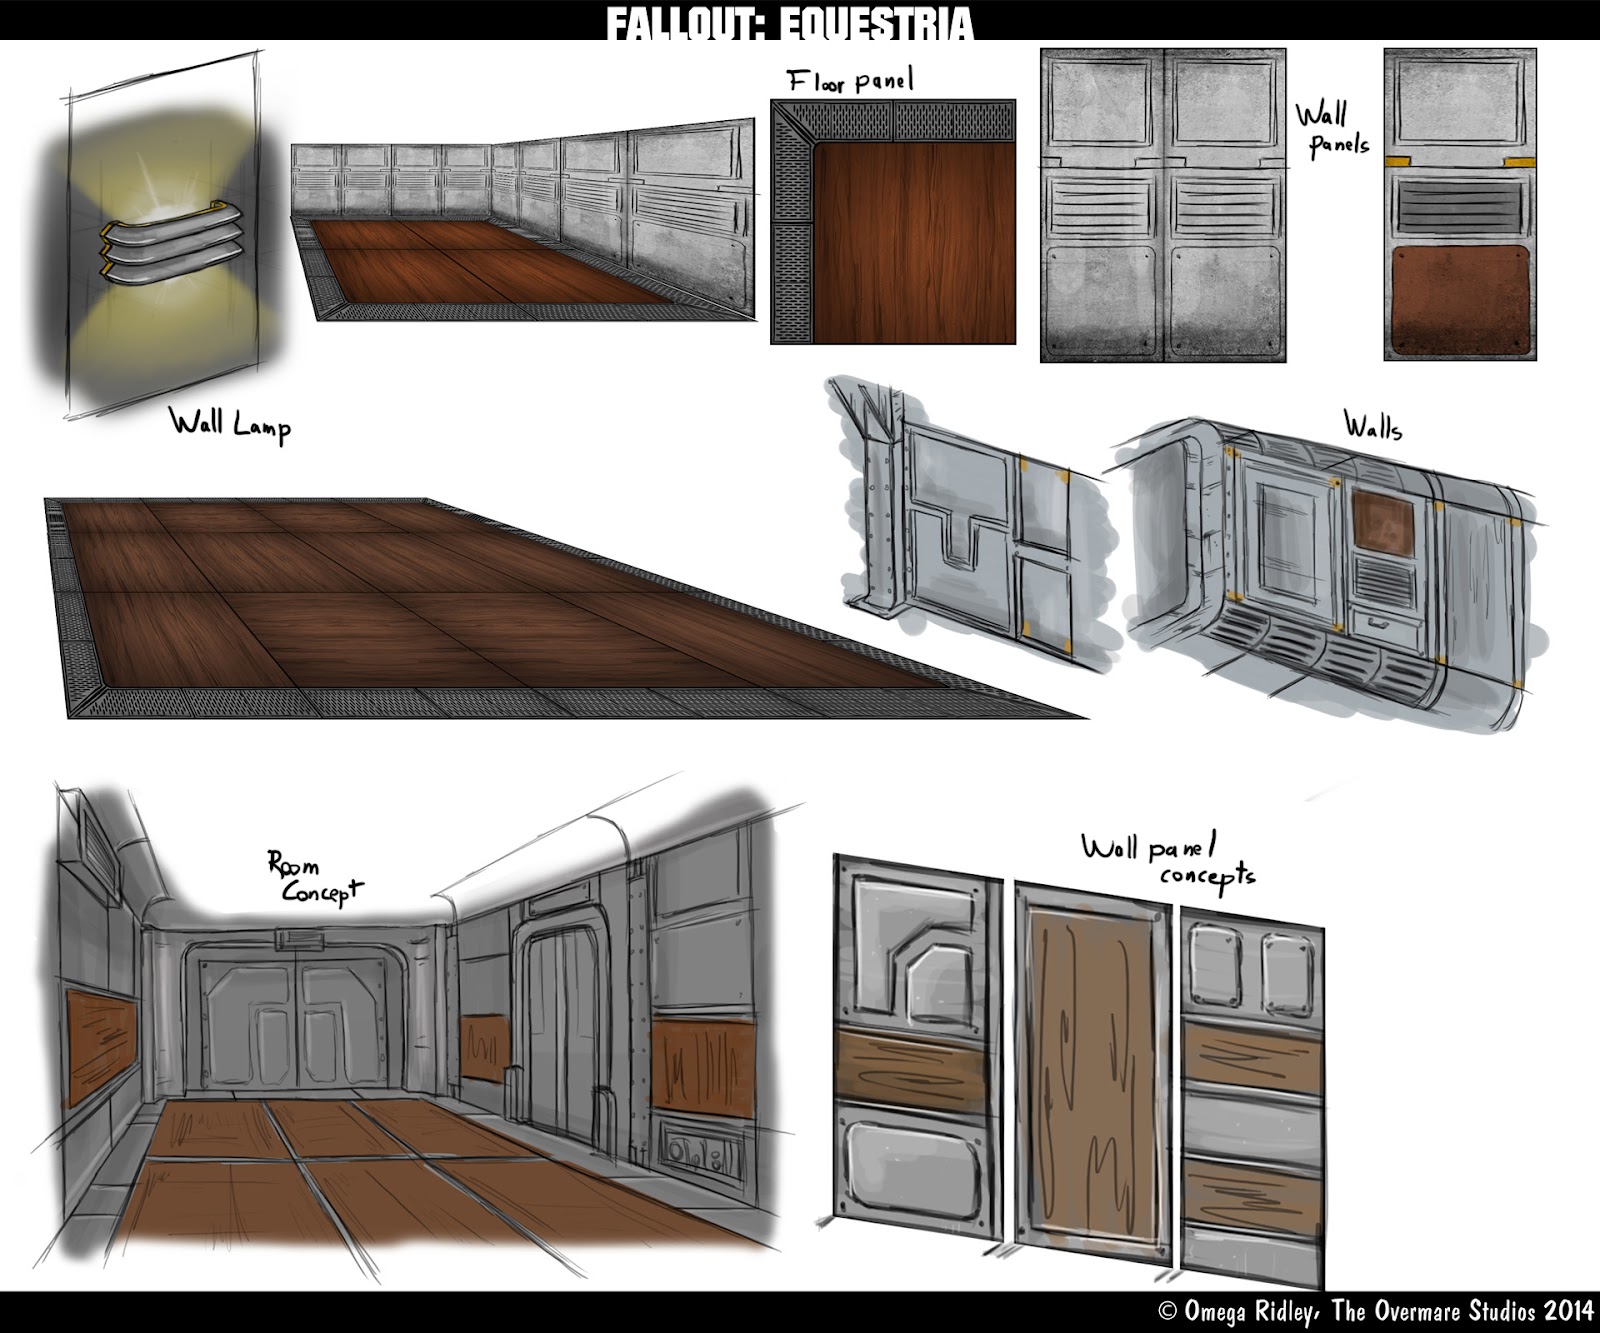
Generally 3D levels start with a process called whiteboxing. Whiteboxing is creating the very basic shape of the level by using primitive shapes. This will allow the level designer to block out the level and test the size and gameplay before moving on to creating the required assets. The next step is to create placeholder assets to get a better idea of what the final asset should look like and to better identify the assets when testing gameplay.
Ponyville has not been made using this process and we only started using this process in our last wave. You can see a few greyboxes in wave 5.5 (like the Town Hall.)
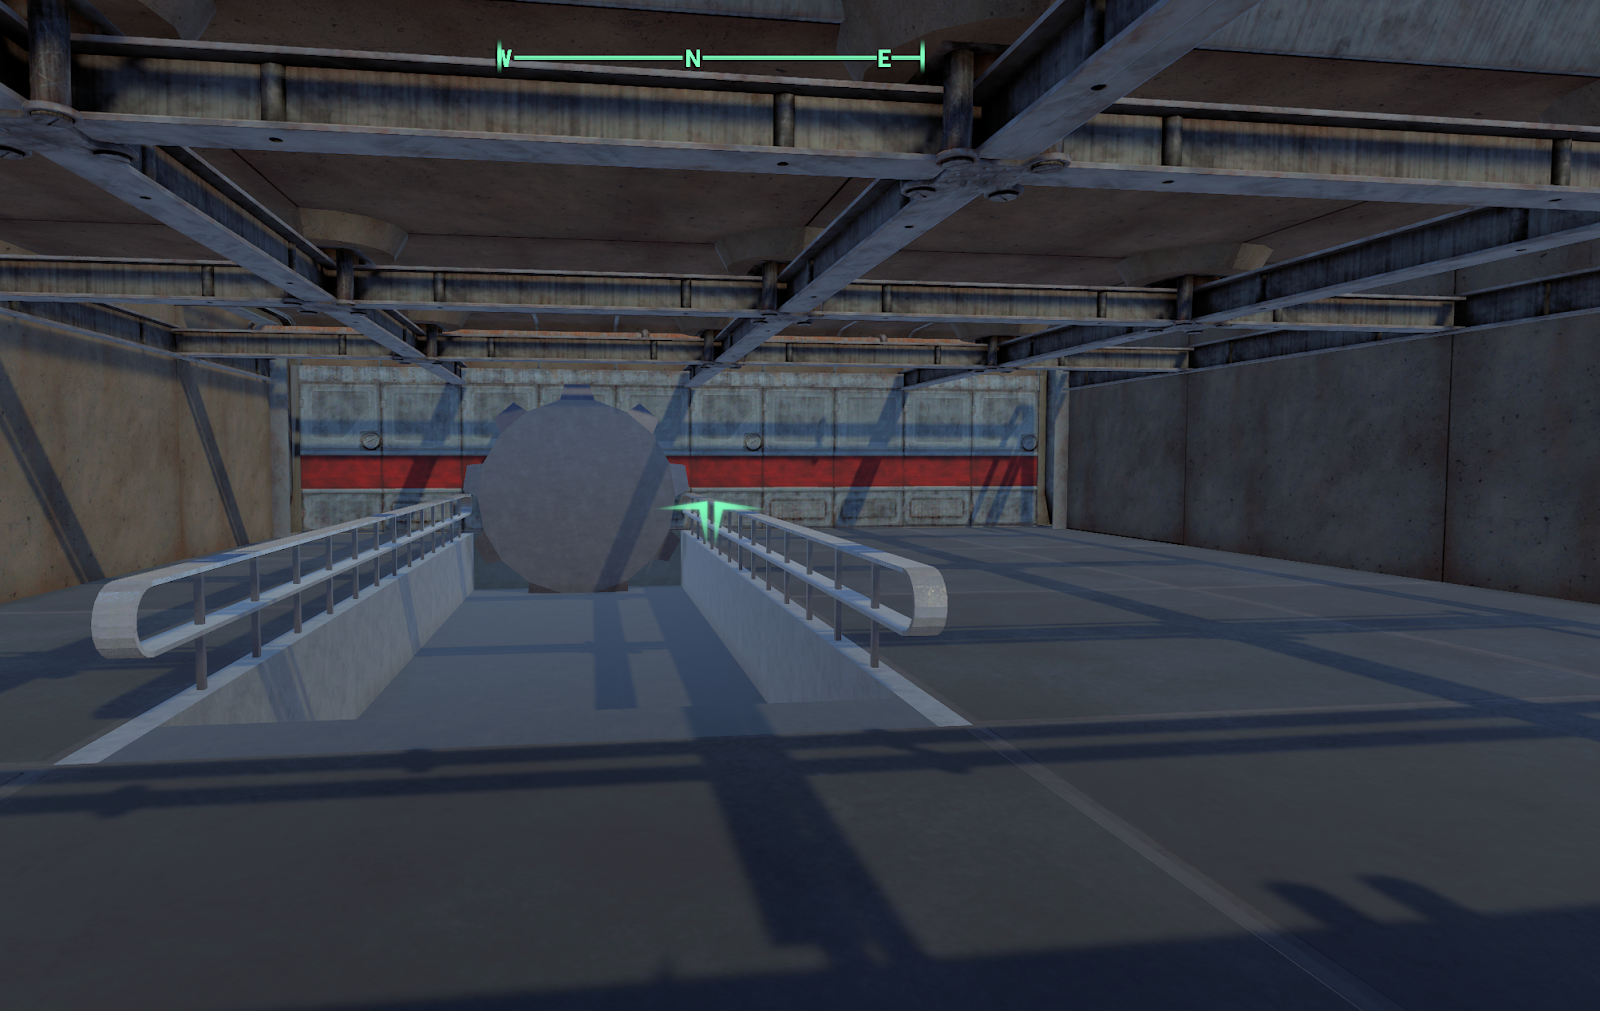
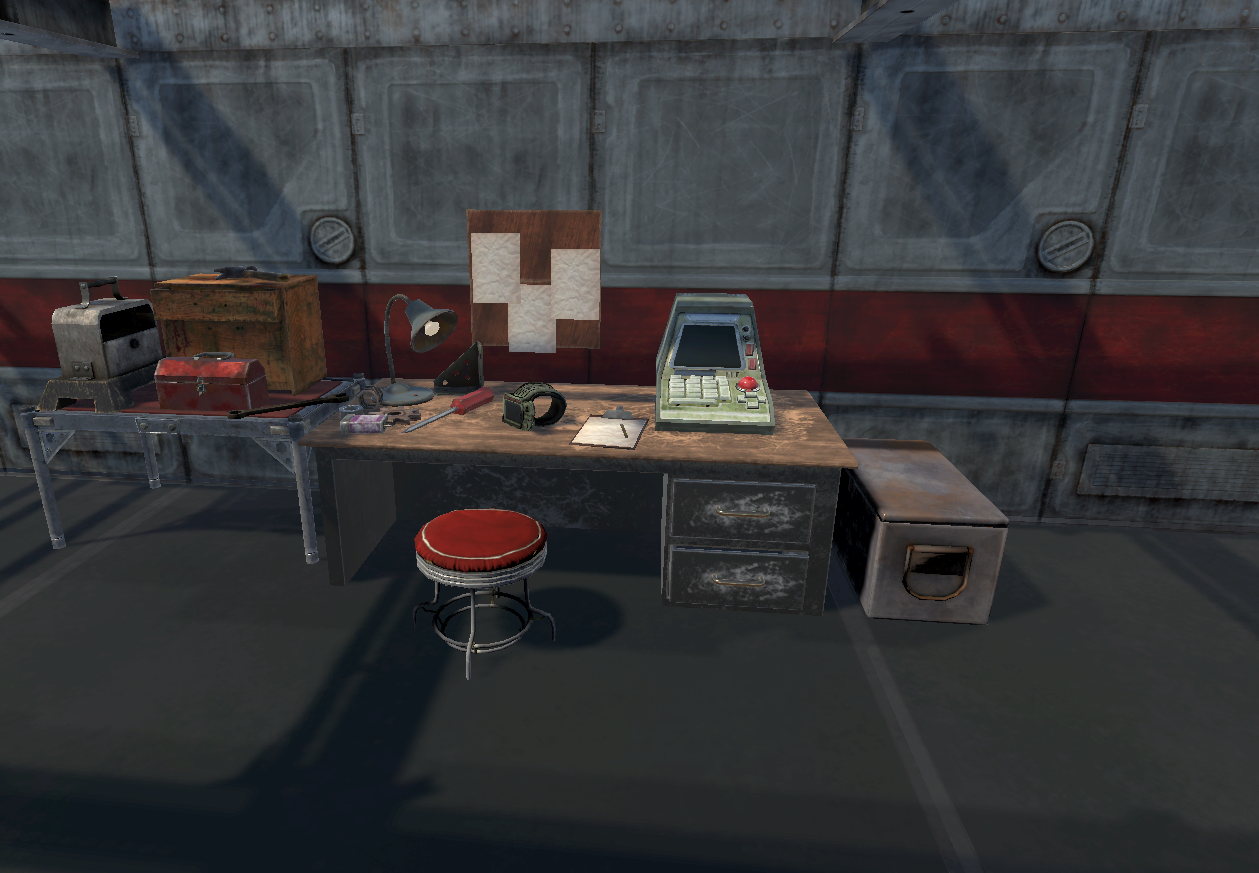
Stable 2’s creation has been using this process from the start. We’ve so far whiteboxed a layout and are currently in the process of modifying this layout until it suits our needs. We will then proceed to use placeholder assets and whatever finished assets we have to give an impression of the final product. We will then gradually replace the placeholders with assets as they are completed and finish the level.
Here are some screenshots of Stable 2 in various stages of development. These are all heavily work in progress and will likely significantly change until they are completed.
Recruitment
We can really use more help, especially in the 3D department. We are also looking for more programmers, designers, artists, modellers, animators, audio engineers, and testers. If you want to help out please consider joining us. You can apply here.
If you have any questions regarding today’s blog post, how to join the project or other questions in general, feel free to join our Discord community: TOmS Community Discord
Our Discord community is the best place to keep up to date with the latest news in the development of Ashes and to meet fellow fans of both the project and the fandom at large. We are also active on our Twitter account here: Overmare Studio Twitter